
Product photography plays a crucial role in ecommerce, offering potential buyers a visual understanding of what’s on offer. It’s the digital window display, and getting it right can have a huge impact on your sales. In a world where customers can’t touch or try on products before purchase, high-quality images serve as a bridge, helping them to decide if the product is right.
As an ecommerce business owner, you’ll learn that the way your products are presented is nearly as important as the products themselves. Good lighting, clear focus, and the right angle are just the beginning. This guide will help you navigate through the essentials of product photography, providing tips on achieving those eye-catching images that grab shoppers’ attention.
Remember, whether you’re a seasoned professional or just starting out, every product image can be fine-tuned to enhance your online presence. Consistency and attention to detail will set your offerings apart. With this guide, you’re equipped to create compelling product visuals that reflect the quality and appeal of what you have to sell.
Understanding Product Photography
Before diving into the practical side of product photography, it’s crucial to grasp its significance and the tools you’ll need.
The Role of Photography in Marketing
Product photography is pivotal in marketing, especially for e-commerce. Your images serve as ambassadors for your brand, conveying quality and value to potential customers. They should capture attention, ignite desire, and ultimately inspire purchase decisions. The right photograph can differentiate your product in a crowded market, making it essential to develop an eye for detail and an understanding of what appeals to your target audience.
Equipment Essentials
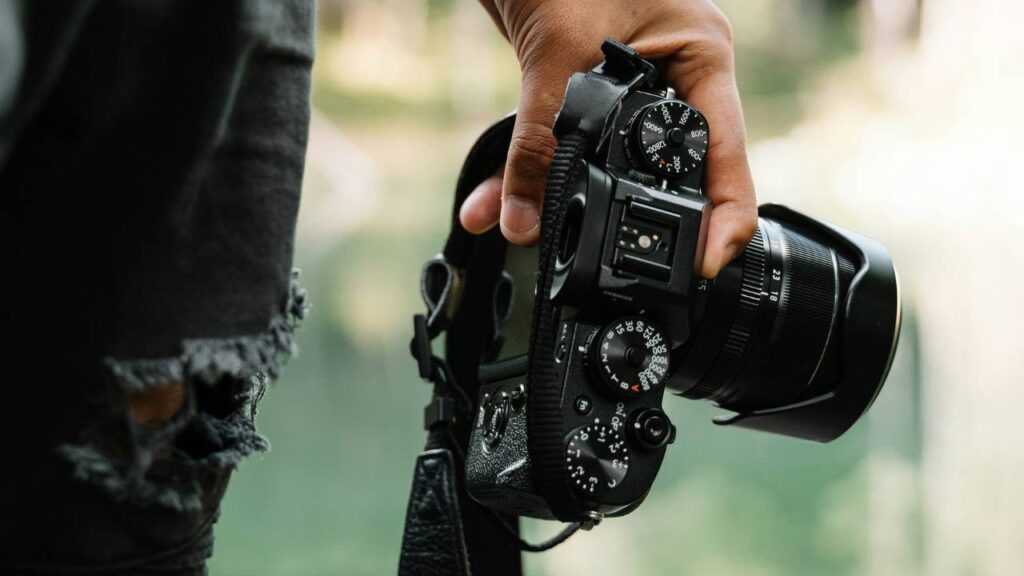
To get started in product photography, you’ll need some basic equipment. A reliable camera – whether it’s a high-end DSLR or a mirrorless alternative—is the foundation of your gear. Consider your choice of lenses carefully; a macro lens is perfect for close-up product shots, while a standard lens can be versatile enough for various types of photos.
| Essential Equipment | Purpose |
| Camera | Captures high-quality images |
| Lenses | Provides different focal lengths and depth of field |
| Tripod | Keeps the camera steady |
| Lighting | Ensures adequate illumination |
| Backdrops | Gives a clean and consistent background |
A tripod is also essential to keep your shots steady and consistent. Good lighting, either natural or artificial, will help you showcase your products in their best light. Finally, having a selection of backdrops can help you maintain a consistent aesthetic across all images.
Technical Camera Knowledge
Understanding your camera’s settings is fundamental to taking great product photos. Familiarise yourself with terms like ISO, aperture, and shutter speed. The ISO setting affects the camera’s sensitivity to light; a lower number means less grain. Aperture controls the amount of light entering the lens and the depth of field; a lower f-stop number lets in more light and creates a more blurred background. Shutter speed determines how long the camera’s sensor is exposed to light; faster speeds can freeze motion, while slower speeds can create blur motion effects.
As a product photographer, it’s your skill set that will make the most of this equipment. Continuously refining your techniques and learning how to manipulate the settings for different effects will be crucial. Remember, your knowledge and how you apply it will set the standard for your work.
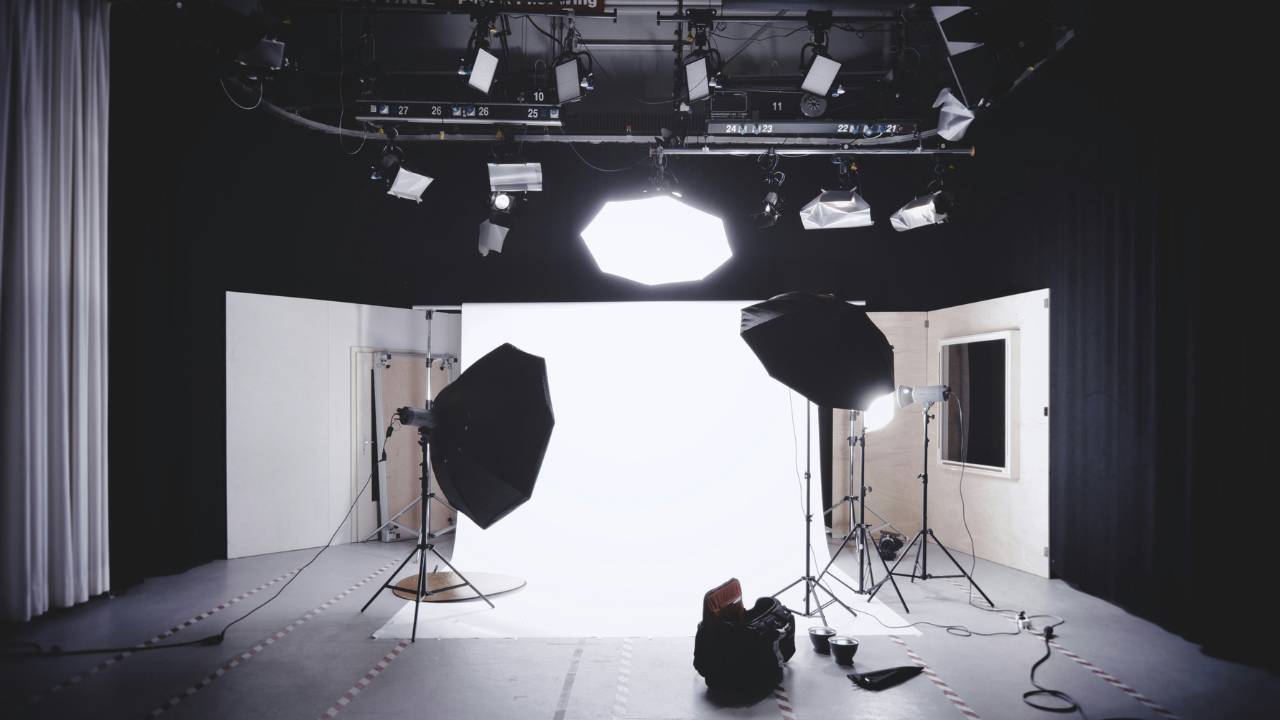
Setting Up for the Shoot

Preparing for a product photography session is a critical step in creating images that stand out. Paying close attention to your background, lighting, and product preparation will set you on the path to capturing professional and appealing photographs.
Choosing the Right Background
Selecting the appropriate background is fundamental to product photography. A white background is a classic choice, offering a clean, distraction-free canvas that brings your product to the forefront. However, you might also consider textured or coloured backgrounds if they complement your product. When working with smaller items, a table can suffice, paired with a sweep – a curved backdrop that eliminates seams and shadows for a more cohesive look.
Ideal Lighting Setups
Lighting can dramatically affect the mood and detail of your product images. Natural light can provide a soft, even look, especially helpful for products meant to be used outdoors or to highlight natural qualities. Conversely, artificial light gives you more control over the direction and intensity of light. A basic setup includes key lights, a fill light, and possibly backlighting to add depth. Use tripods to stabilise your lights and maintain consistency across shots.
Preparing Your Products
Your products should look their best for the photoshoot. Begin by ensuring they’re clean and free of any blemishes or dust, as the camera will pick up on these details. Props can add context and appeal to your product, but use them sparingly to avoid cluttering the scene. Every aspect of your product, including its texture, colour, and function, should be clearly visible, but remember that the product should always be the star of the show.
Capturing the Image
In this section, you’ll learn about the technical aspects of taking a photo, including camera settings, preparing your shoot, and how to work with various subjects to get the perfect picture.
Camera Settings and Techniques
To achieve a high-quality image, it’s crucial to understand your camera’s settings:
- Aperture – Controls the depth of field; adjust this to add more focus to your subject or to create a softer background.
- Shutter Speed – Influences motion blur and exposure. A faster speed can freeze action, while a slower speed allows more light in.
- ISO – This setting affects the sensor’s sensitivity to light. Higher ISO can brighten your images but may introduce graininess.
- White Balance – Proper white balance will ensure the colours in your photos look natural.
- Exposure – Correct exposure is key to a great shot. Use the exposure triangle (aperture, shutter speed, and ISO) to get the right balance.
| Camera Setting | Effect on Image |
| Aperture (f-stop) | Adjusts depth of field and amount of light |
| Shutter Speed | Freezes or blurs motion; affects light intake |
| ISO | Changes light sensitivity; can increase noise |
| White Balance | Corrects colour temperature for accuracy |
Remember to shoot in RAW format for maximum control in post-processing.
Creating a Comprehensive Shot List
Prepare a list to ensure you cover all desired shots:
- Plan your composition and camera angles meticulously; this helps tell your product’s story.
- Include multiple angles to give a complete view.
- Carefully consider shadows and reflection for each shot.
- Incorporate variety to highlight different features and angles.
Working with Models and Still Life
- When photographing models, guide them on poses that complement the product and use lighting to accentuate features.
- For still life, pay attention to the placement and the angle of your light sources to avoid unwanted shadows.
- Experiment with the relationship between depth of field and composition to emphasise the product.
Post-Production and Editing

Once your photoshoot is complete, the next critical phase is post-production and editing. This stage is where you hone the raw images to perfection, accentuating textures and colours, while ensuring the quality of light translates effectively into the final presentation.
Essential Photo Editing Techniques
In post-processing, you begin by culling the photos to select the best shots. Then, adjust the basics such as brightness and contrast to bring out the details. Next, tweak the colour balance to ensure colours are true to life or to match the brand palette. Cropping and straightening are also crucial to improve composition. A consistent use of filters or presets can maintain a uniform look across the pictures for cohesive client presentation.
| Step | Purpose |
| Brightness/Contrast | Enhance overall image clarity |
| Colour Balance | Correct or enhance colours |
| Cropping | Remove distractions, improve framing |
| Straightening | Align horizons, fix perspectives |
The Art of Retouching
Retouching is more nuanced and focuses on eliminating any imperfections from the photo. This could involve removing dust spots, unwanted reflections, or minor blemishes on products. Techniques like cloning and healing are often used. Skilful retouching pays special attention to the textures and surfaces, preserving their natural look whilst correcting any flaws.
- Cloning/Healing – Removes imperfections seamlessly.
- Dodging/Burning – Adds depth by playing with shadows and highlights.
Remember, the goal is refinement without over-manipulation, retaining the product’s authenticity.
Delivering to the Client
Your final task is to export the images in formats suitable for the client’s needs — be it for print, web, or other media. Ensure that resolution and file size specifications are met to deliver the highest quality. Package the files neatly, often in a .zip or .pdf, and label them in an organised manner for easy identification. Tailor your presentation strategy to showcase the images in a way that amplifies the client’s brand story and maximises the impact of your photographs.
- File Format/Quality – Cater to client’s usage requirements (e.g. .jpg for web, .tiff for print).
- Organisation – Label files clearly for straightforward navigation.
- Presentation – Choose a method that highlights the photos effectively.
By meticulously implementing these post-production and editing steps, you ensure that your final images reflect the effort and skill put into the entire photoshoot process, satisfying your clients and enhancing your portfolio.
Marketing Your Photography
In this section, you’ll learn how to harness the power of your photography to increase online sales and build a professional portfolio that attracts clients.
Using Imagery to Boost E-commerce Sales
When marketing your e-commerce business, evaluate if traditional vs digital PR strategies would be more effective for increasing brand awareness and website traffic. Digital PR leans more heavily on visual platforms like social media, which aligns well with promoting product photography – high-quality product images are essential for driving sales on your e-commerce website.
First impressions count, so make sure that your images are clear, well-lit, and highlight the features of the products.
- Demonstrate Value – Your images should align with your target audience’s expectations and desires, showcasing the product in a context that resonates with them.
- Consistency is Key – Maintain a uniform style throughout your e-commerce platform to build a recognisable brand identity.
Building a Portfolio
Creating a striking portfolio is a crucial step in marketing your professional photography services. Your portfolio reflects your skills, style, and versatility, and it’s the first thing potential clients will assess before deciding to hire you.
- Select Best Work – Include a diverse range of work that clearly demonstrates your ability to cater to different client needs.
- Easy Navigation – Ensure your online portfolio is categorised for ease of access and displays your images in high resolution. Having sections dedicated to specific genres like event photography makes it easy for clients to evaluate your proficiency.
Engaging with the Photography Community
Networking within the photography community can lead to referrals, partnerships, and increased awareness of your work.
- Social Media – Actively post your work on platforms like Instagram and interact with both clients and peers.
- Industry Events – Attend workshops and events to stay up-to-date with current trends and meet potential clients face-to-face.
By focusing on these strategies, you can effectively market your photography and attract more interest to your e-commerce site and professional services.
The Role of Video Marketing
In addition to quality product images, video content is growing in importance for ecommerce marketing. Short video demonstrations can powerfully showcase your products in action. Ensure your videos are high-quality, with appealing visuals, clear audio, and concise messaging. Coordinate your video style with your product photos for a cohesive brand image.